Let’s start it, easy and simple.
1. Remove 12 screws on the back. (8 surrounded, 4 on the center)

2. Make the front side up and remove the front cover. (note: watch the cable connected to the screen)

3. Disconnect 3 ribbon cables.

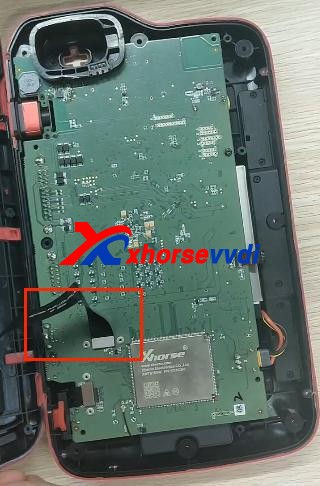
4. Remove the thin cable as shown.

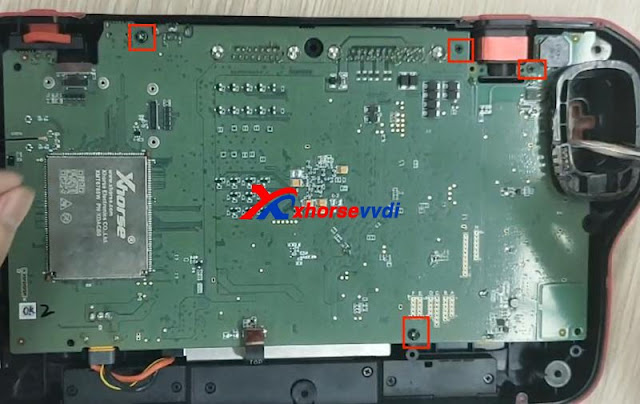
5. Unscrew 4 screws on the PCB board.

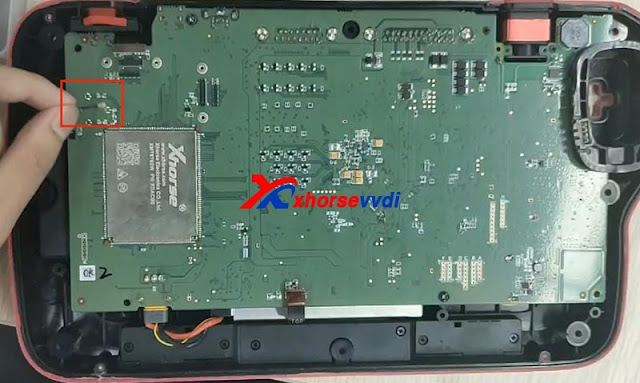
6. Take out PCB board and disconnect battery cable.

Finished, that’s the process of taking out PCB board from Key Tool Plus Pad.
Video demo:
For more info, you can check
Source:http://blog.xhorsevvdi.com/how-to-take-out-xhorse-vvdi-key-tool-plus-pcb-board/


没有评论:
发表评论