显示标签为“VVDI Key Tool Plus”的博文。显示所有博文

2021年12月2日星期四

How to distinguish whether Audi BCM is an encryption Type


Recently released Xhorse BCM2 Solder-free Adapter allows users to read encrypted Audi BCM2 module, but how to know if it’s a locked version? In this article we’ll raise two ways:

  1. Judge by the number on BCM2 module
  2. Read BCM2 info by VVDI2/Key Tool Plus


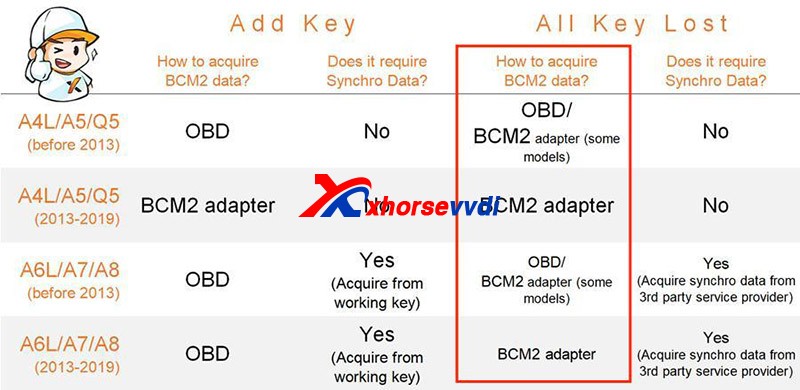
Generally, BCM2 modules before 2013 are unencrypted while those after 2013 are encrypted.
How To Identify An Encrypted Audi Bcm By Xhorse Programmers 1

However, there are exceptions after 2013 and it’s hard to judge 2013 versions.

Then we have

Method 1. Judge by the number on the BCM2 module

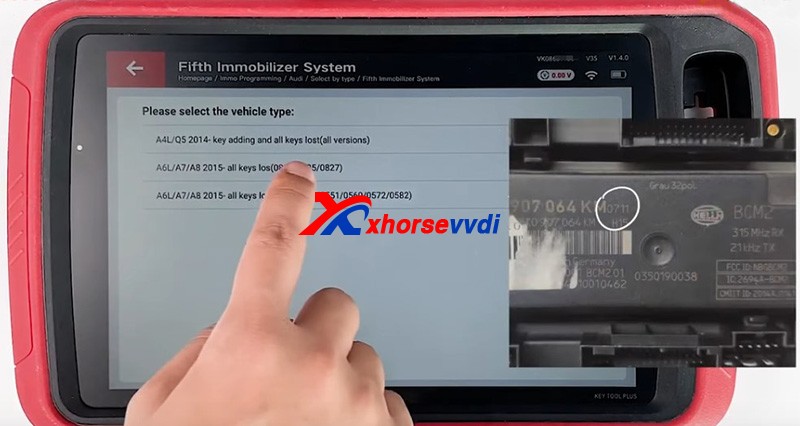
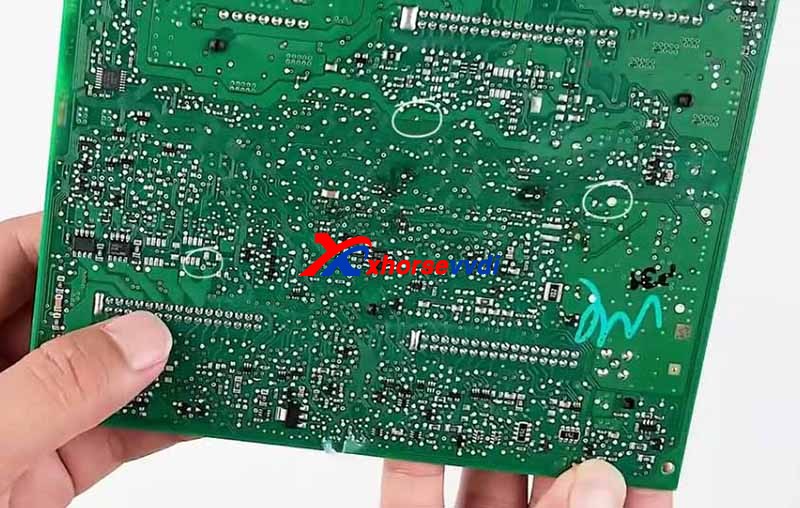
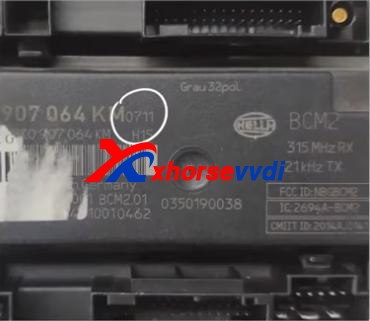
After we remove a BCM2 module, check the number on the box. (Here we have “0711”)
How To Identify An Encrypted Audi Bcm By Xhorse Programmers 2

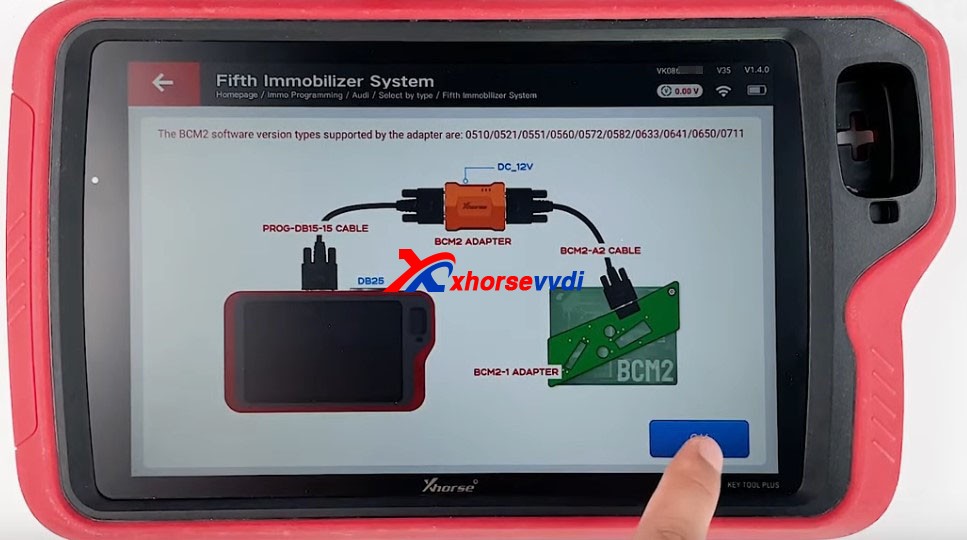
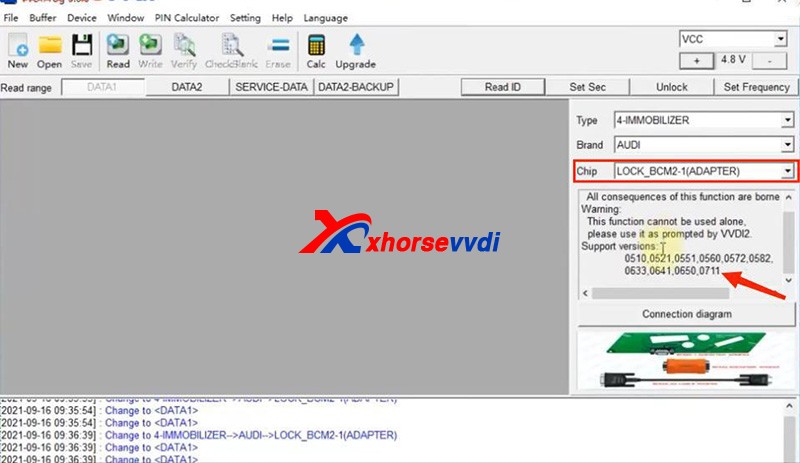
On the chip selection page of VVDI PROG or VVDI Key Tool Plus, supported numbers are listed on the below.
How To Identify An Encrypted Audi Bcm By Xhorse Programmers 3

How To Identify An Encrypted Audi Bcm By Xhorse Programmers 4

If our BCM2 number is on the list, we need to read it by an encrypted BCM2 Adapter.

Notes:

1)VVDI PROG has “LOCK_BCM2-1(ADAPTER)” and “LOCK_BCM2-2(ADAPTER)”

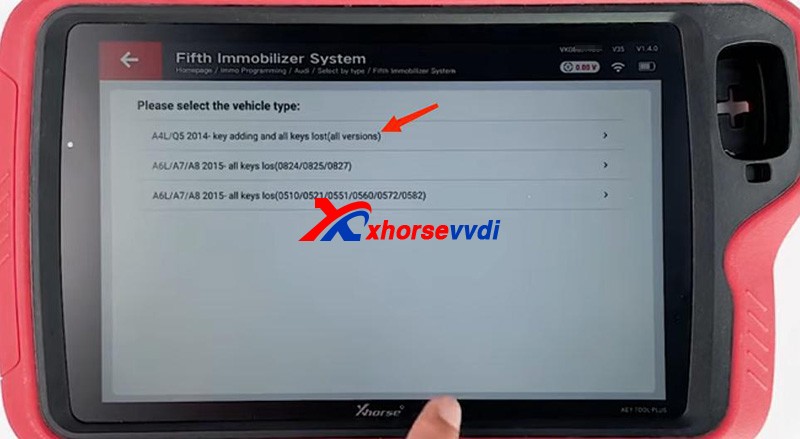
2)For our “0711”, we should select “(all versions)” on Key Tool Plus.

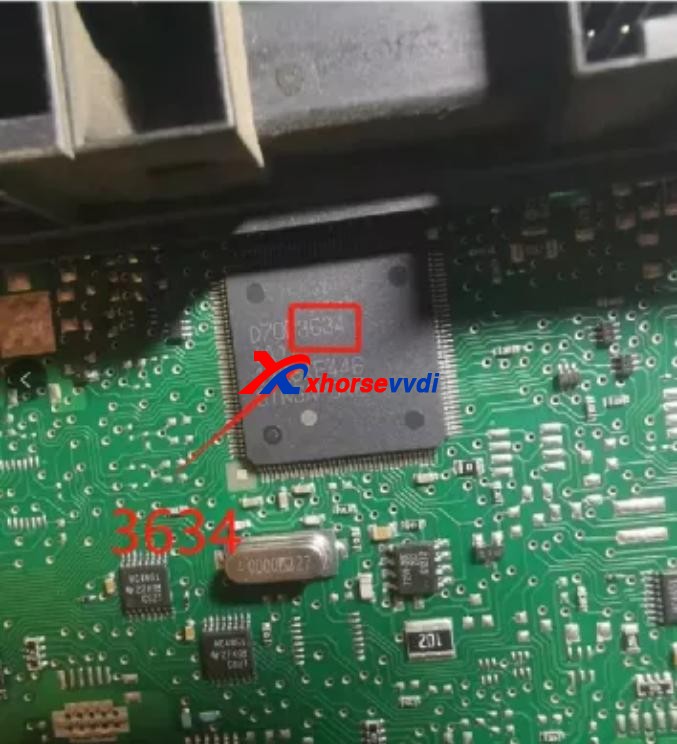
If we cannot find a number on our BCM2 modules, remove the cover to check the number on the chip of the circuit board.
How To Identify An Encrypted Audi Bcm By Xhorse Programmers 5

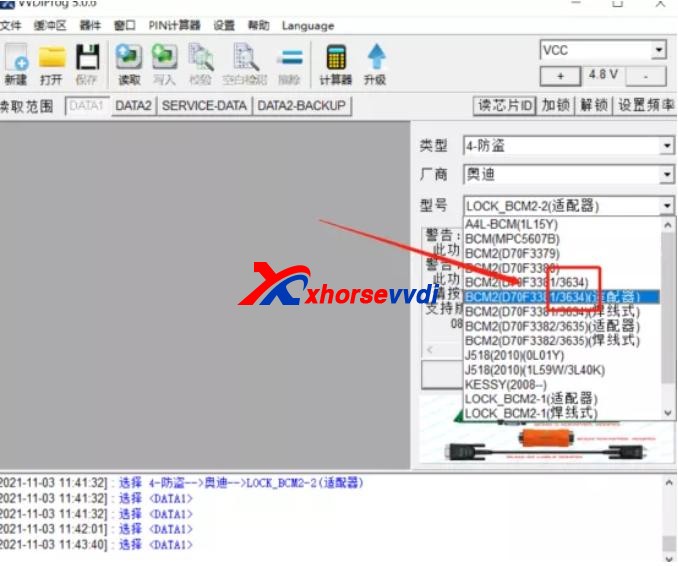
Then see if our number is listed on unencrypted versions.
How To Identify An Encrypted Audi Bcm By Xhorse Programmers 6

If so, read it by the selection prompt (our “3634” is unencrypted and it can be read in a soldering/solder-free way);

If not, Do Not Try to read a unknown-version BCM2 and contact your dealer to confirm.


Method 2. Read BCM2 info by VVDI2/Key Tool Plus

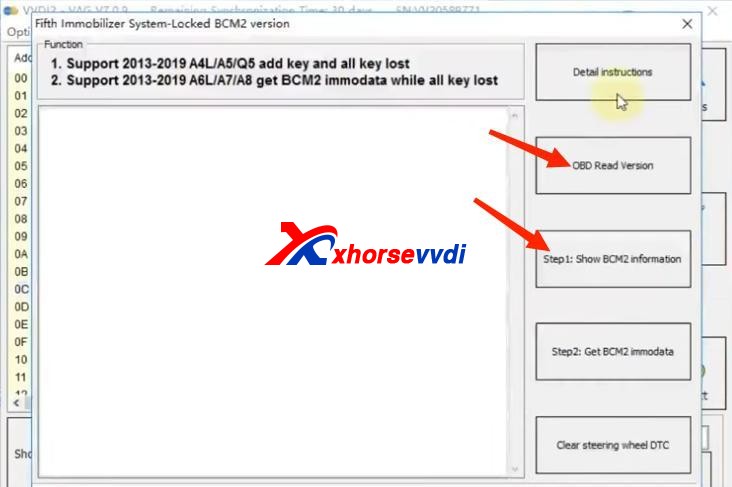
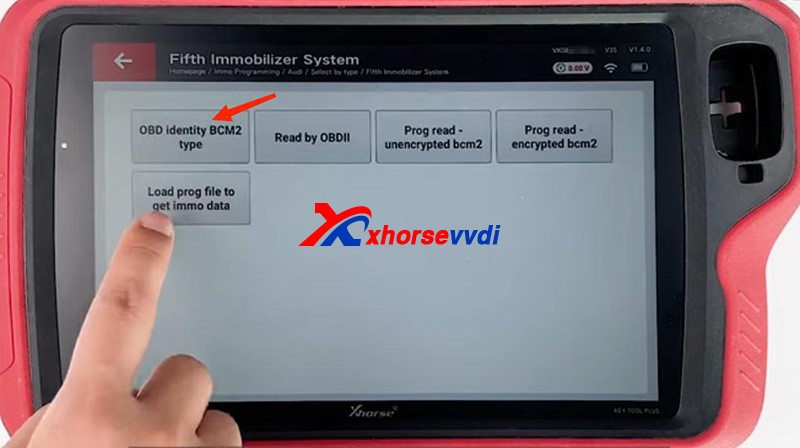
Sometimes we find part of BCM2 modules on the encrypted list are unencrypted, so we have the second way - OBD identify/read.

Before We Remove A BCM2 From A Vehicle, connect VVDI2/Key Tool Plus to your vehicle via OBD to check.

Path 1 (on VVDI2):

  • Key Learn>>Fifth Immobilizer-Locked BCM2 version
How To Identify An Encrypted Audi Bcm By Xhorse Programmers 7

Path 2 (on Key Tool Plus):

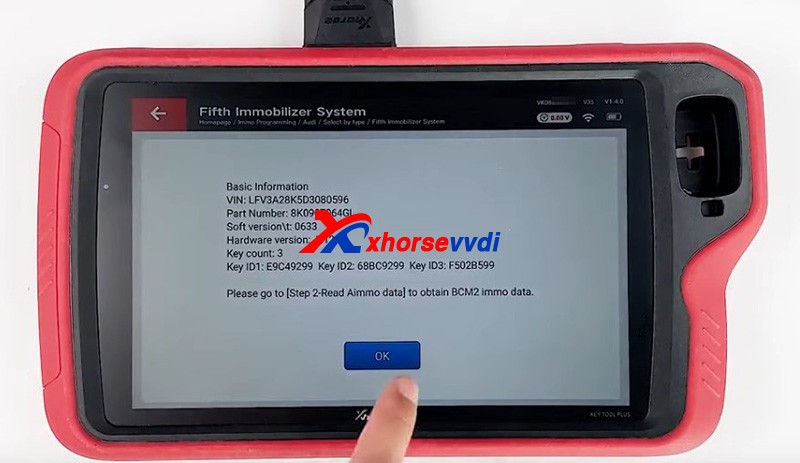
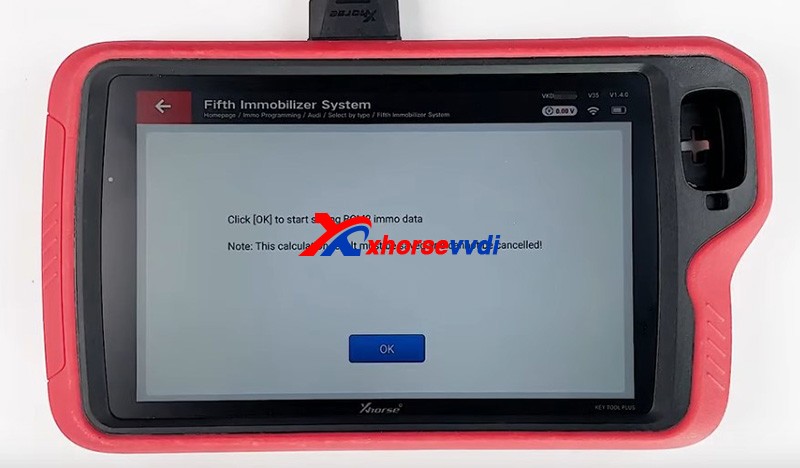
  • Immo Programming>>Audi>>Select by type>>Fifth Immobilizer System>>Start Programming>>Read BCM2 Data>>OBD identify BCM2 type
How To Identify An Encrypted Audi Bcm By Xhorse Programmers 8

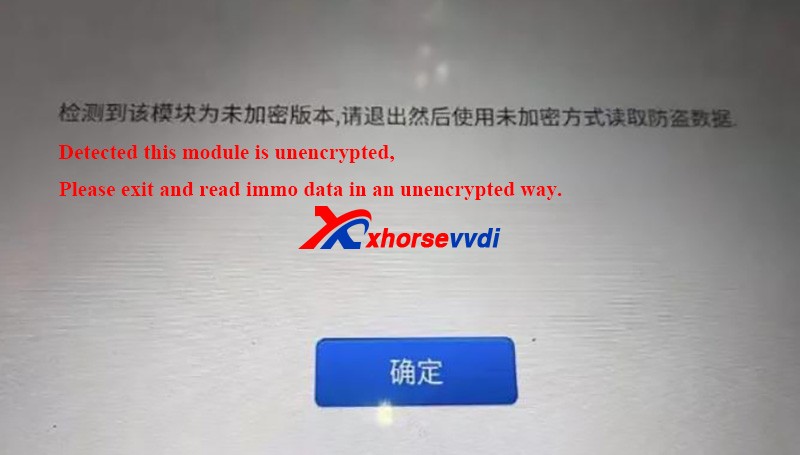
It’s accurate to read BCM info via OBD, and then follow the instruction:

For unencrypted versions, read D-FLASH and P-FLASH without encrypted BCM2 adapters.

For encrypted versions, Do use encrypted BCM2 adapters.
How To Identify An Encrypted Audi Bcm By Xhorse Programmers 9


Other tips

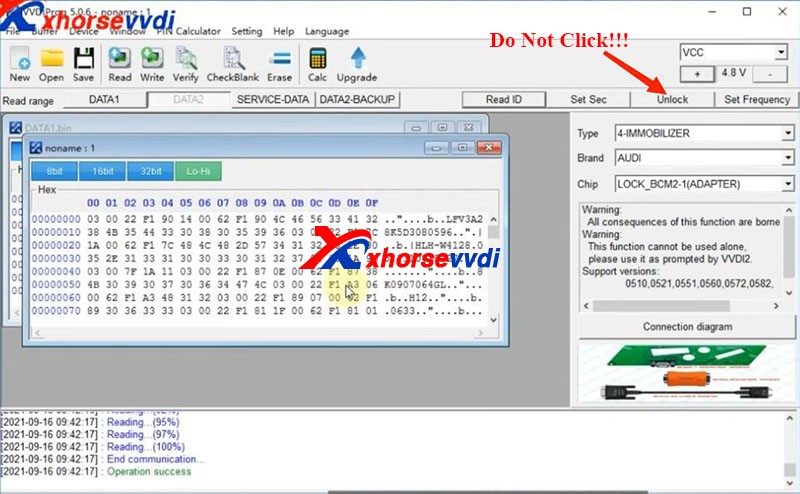
  1. When we read an encrypted BCM2 with VVDI AUDI BCM2 adapters, Do Not click on “Unlock”, or the module will be erased and no way to restore.
How To Identify An Encrypted Audi Bcm By Xhorse Programmers 10

  1. During removing BCM modules or soldering cables to BCM circuit boards (Particularly in winter), Do care static electricity, which may cause damages to chips or data loss.


Alright, that’s how we identify BCM2 status and some tips during operation.


Thanks to xhorsevvdi for making this article: http://blog.xhorsevvdi.com/how-to-identify-an-encrypted-audi-bcm-by-xhorse-programmers/

2021年10月25日星期一

How to disassemble Xhorse VVDI Key Tool Plus

Today xhorsevvdi is going to share with you how to take out PCB Board inside VVDI Key Tool Plus.


Let’s start it, easy and simple.

1. Remove 12 screws on the back. (8 surrounded, 4 on the center)
How to disassemble Xhorse VVDI Key Tool Plus 01

2. Make the front side up and remove the front cover. (note: watch the cable connected to the screen)
How to disassemble Xhorse VVDI Key Tool Plus 02

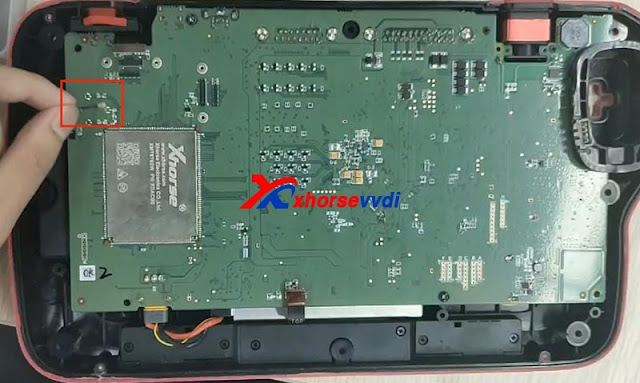
3. Disconnect 3 ribbon cables.
How to disassemble Xhorse VVDI Key Tool Plus 03

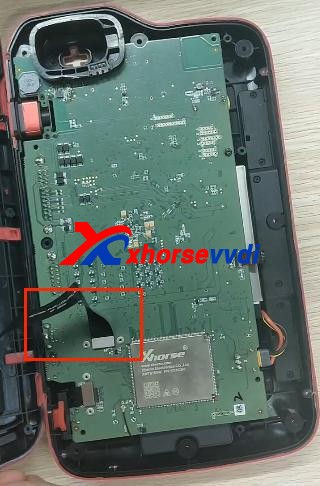
4. Remove the thin cable as shown.
How to disassemble Xhorse VVDI Key Tool Plus 04

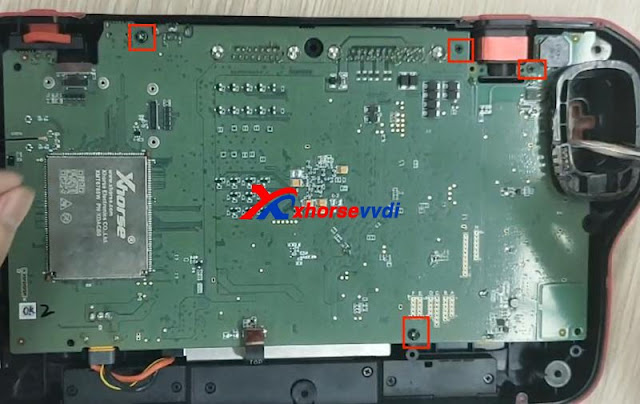
5. Unscrew 4 screws on the PCB board.
How to disassemble Xhorse VVDI Key Tool Plus 04

6. Take out PCB board and disconnect battery cable.
How to disassemble Xhorse VVDI Key Tool Plus 05


Finished, that’s the process of taking out PCB board from Key Tool Plus Pad.


Video demo:


For more info, you can check

Source:http://blog.xhorsevvdi.com/how-to-take-out-xhorse-vvdi-key-tool-plus-pcb-board/


2021年10月12日星期二

How to Fix VVDI Key Tool Plus Error Code: 13040031 with BCM2 Adapter?

During the process of using Xhorse Audi BCM2 Adapter to read & write data with VVDI Key Tool Plus and VVDI Prog, some may have error reports or failure messages. In this article, We will put together 2 errors and solutions for your reference.


Issue 1.

Read DATA1 success with BCM2 adapter , but during DATA2 reading VVDI Key Tool Plus prompts “Error Code: 13040031”and“Read Data fail”.

How To Fix VVDI AUDI BCM2 Adapter Error Code 13040031 (2) How To Fix VVDI AUDI BCM2 Adapter Error Code 13040031 (3)

Solution 1 :

Do Not try as you like when it shows “Error Code: 13040031”, the correct way is to check cables & adapters connection and external power supply, try to read again and it should be fine (Do Not read DATA1 again, unlock BCM or try to install BCM back and read via OBD). Read data as instructions and restore BCM back, and there will be no other problems.


Issue 2.

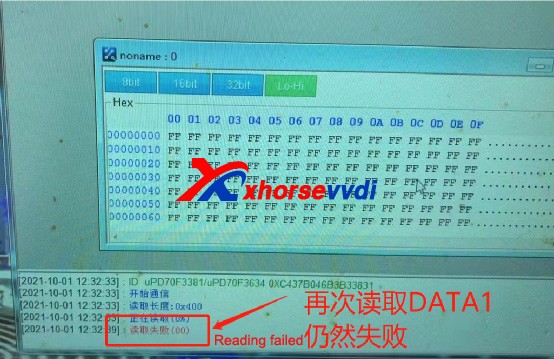
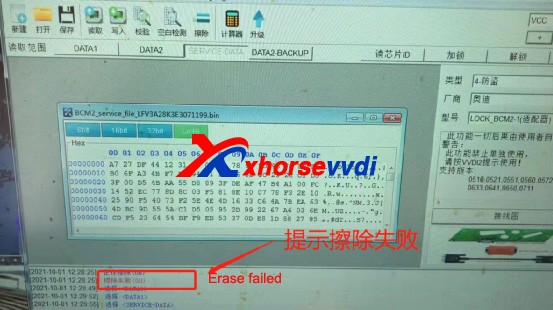
Read DATA1 and DATA2 success, save Immo data and service data success, but write service data fail and it prompts “Fail to erase” when repeating service data writing. Try again and DATA1 reading also fails.

How To Fix VVDI AUDI BCM2 Adapter Error Code 13040031 (4) How To Fix VVDI AUDI BCM2 Adapter Error Code 13040031 (5)

Solution 2 :

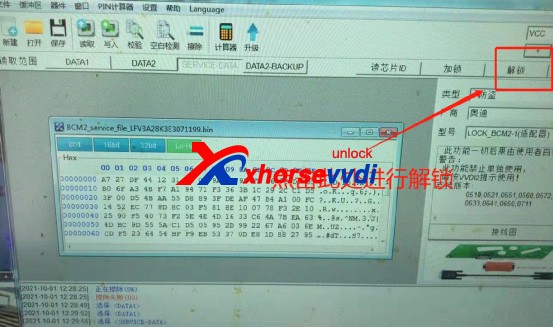
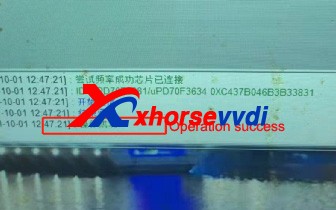
When VVDI PROG  reads DATA1 & DATA2 successfully and saves service data, we can select “Unlock” to unlock BCM’s CPU.

How To Fix VVDI AUDI BCM2 Adapter Error Code 13040031 (6)

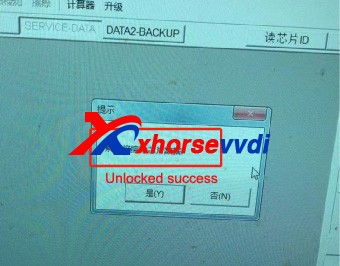
Until the system prompts that the unlock is successful

How To Fix VVDI AUDI BCM2 Adapter Error Code 13040031 (7)

How To Fix VVDI AUDI BCM2 Adapter Error Code 13040031 (8)

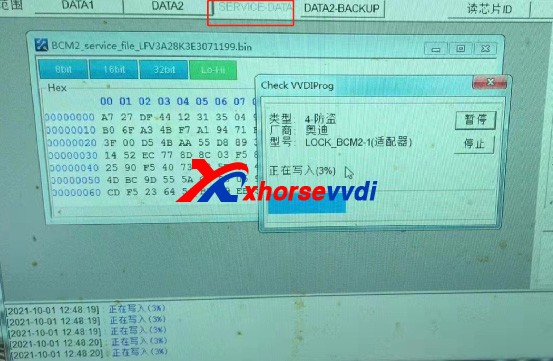
Then select “SERVICE DATA” and write it back.

How To Fix VVDI AUDI BCM2 Adapter Error Code 13040031 (9)

After writing successfully, restore BCM back to vehicle, and vehicle can start without additional operation.


Above problems are collected from customers feedback. Hope this could help. More questions, contact us.

https://www.xhorsevvdi.com/service/xhorse-audi-bcm2-adapter-data-read-write-errors-and-solutions.html

2021年9月24日星期五

How to read locked BCM2 with Xhorse VVDI Key Tool Plus


How to use Xhorse AUDI BCM2 adapter with VVDI Key Tool Plus ,no need solder
Prepare:
  1. VVDI Audi BCM2 Solder Free Adapter
  2. VVDI Key Tool Plus
  3. Network connection

Operation mainly includes:
  • Step 1. Read basic module information
  • Step 2. Read Immo data
  • Step 3. Write Immo data

Note: Make sure Key Tool Plus is connected to network and adapter is supplied 12V power.

Procedure:
  • Immo programming>>Audi>>Select by type>>Fifth Immobilizer System>>Start Programming
On system menu,
Select
  • Read BCM2 Data>>Prog read – encrypted bcm2
Select vehicle type by the label on BCM2.
Here we select “
  • A4L/Q5 2014- key adding and all keys lost (all versions)>>Adapter method”.
Then watch “Function introduction” and “Connection diagram” carefully.

Perform “Step 1 – Identify module information”.
Finish connection by diagrams, and care
Positions of D1, D2, GND.


Click on “Read” to get basic information.


Perform “Step 2 – Read immo data”
Confirm vehicle info we just get and
Click on “Read” to get BCM2 Immo data.

Then we go on to write it back to BCM2 module.


Now we can restore BCM2 module to vehicle and generate dealer key on Fifth immo system menu.
Done!
 http://blog.xhorsevvdi.com/xhorse-audi-bcm2-adapter-with-vvdi-key-tool-plus/
2021年7月5日星期一

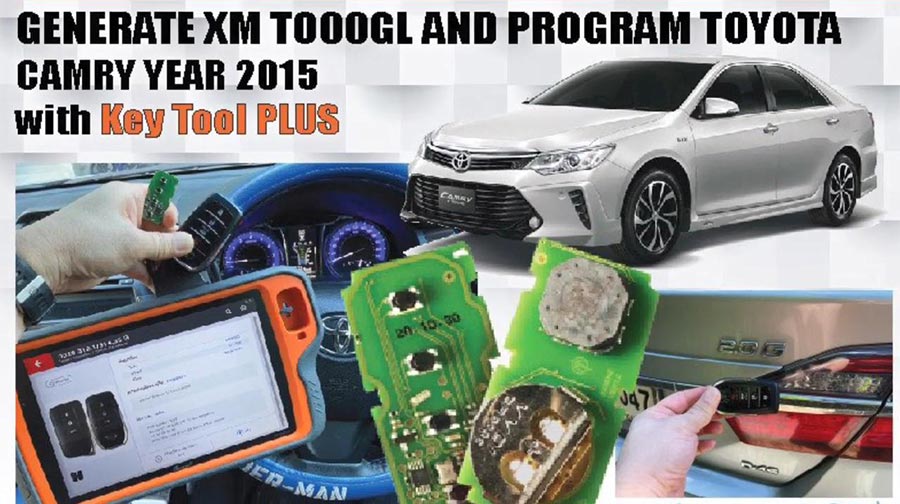
How to add a Toyota Camry 2015 key with Xhorse Key Tool Plus

 This is a quick demo to generate remote for Toyota Camry 2015
Tool option:Xhorse VVDI Key Tool Plus
Blank key Chip: XM-TOY00GL 


The procedure:
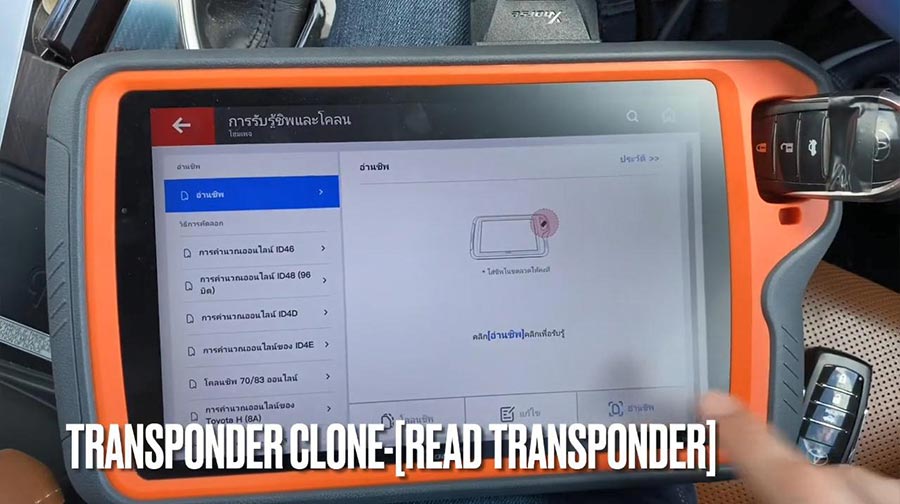
Next is to check original Toyota Remote.
PS: we have the working key.

Path: transponder clone -> read transponder.


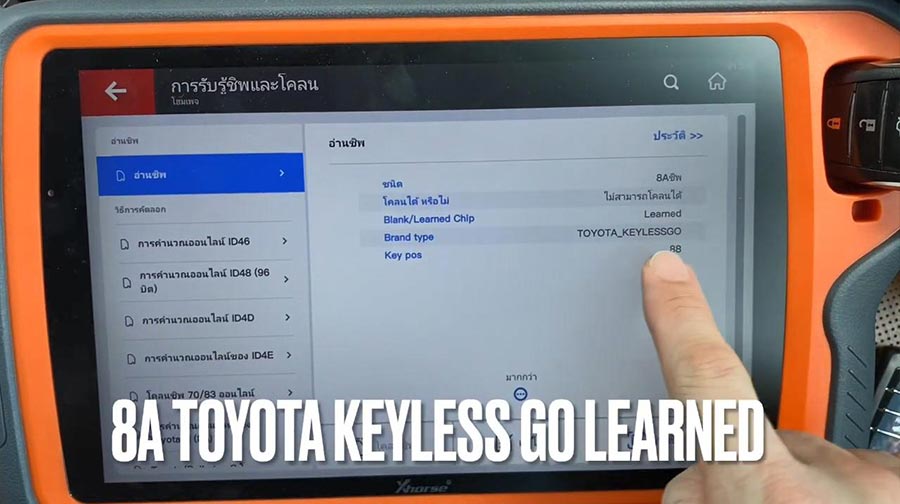
It is 8A Toyota Keyless Go learned.

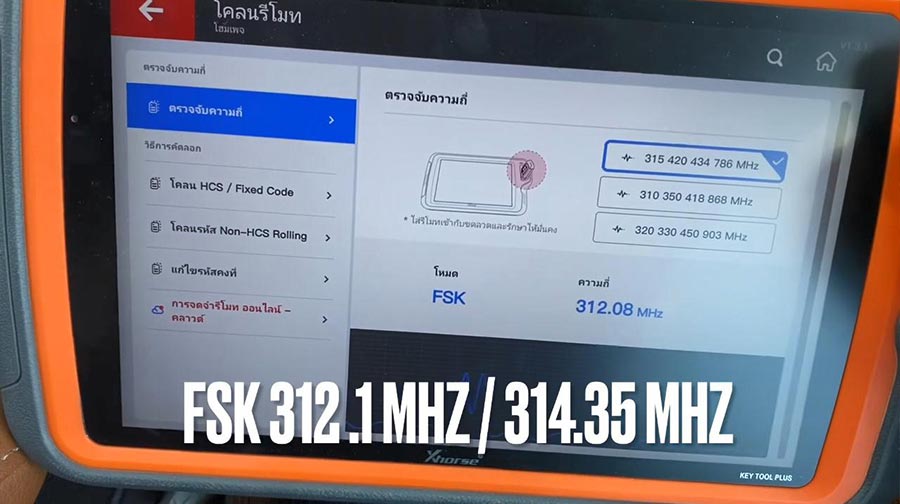
Check frequency.
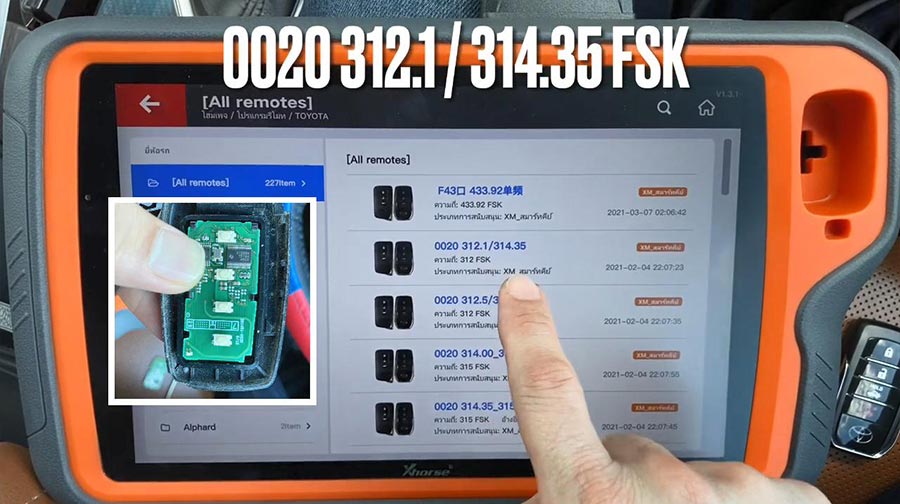
It is FSK312.1MHZ/314.35 MHZ


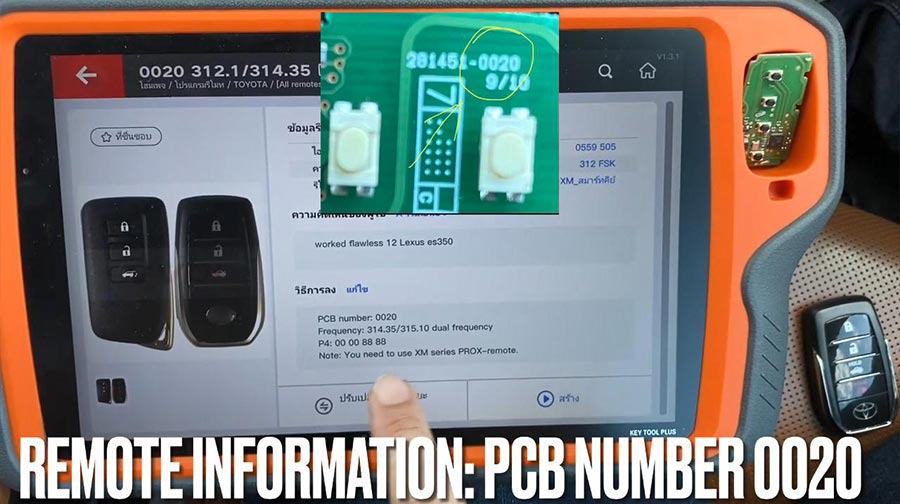
Next is remote program - Toyota -All remote - 0020 312.1MHZ/314.35 FSK.

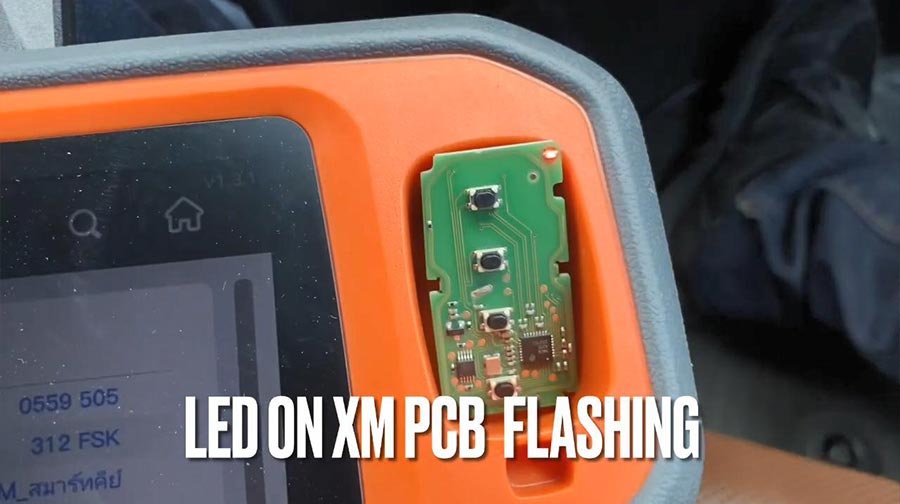
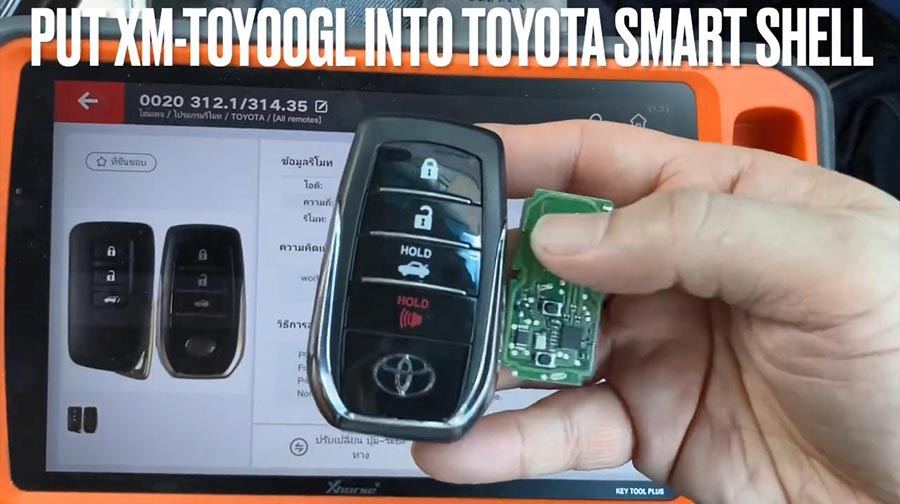
Put XM-Toy00GL PCB into coil antenna hole.
Remote information: PCB number 0020.

Press [Generate], meanwhile LED on XM PCB flashing.
Calculating required 5 seconds , query after 10 seconds.
 

Writing data, please wait...
Process time around 1-2 minutes.

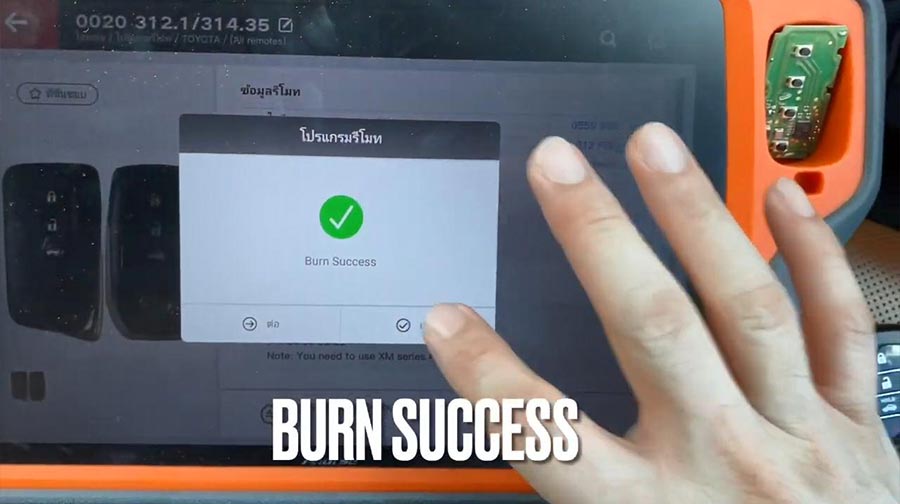
Burn success.

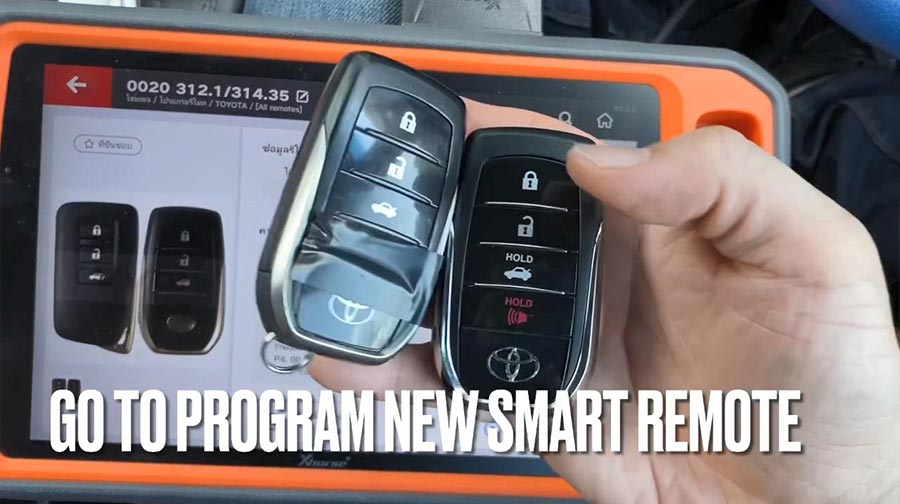
Put XM-TOY001 into Toyota smart shell.

Go to program new smart remote.

Firstly, test original remote and new remote.

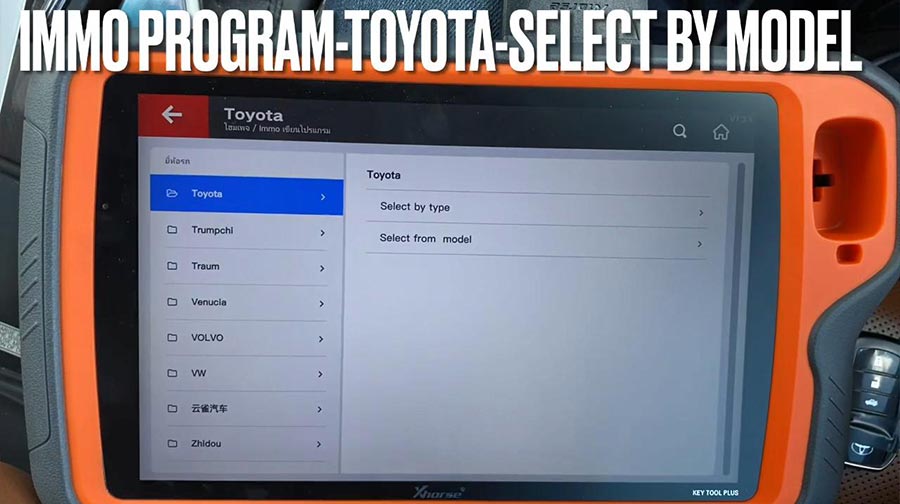
Then go to: IMMO program -Toyota -select by model.

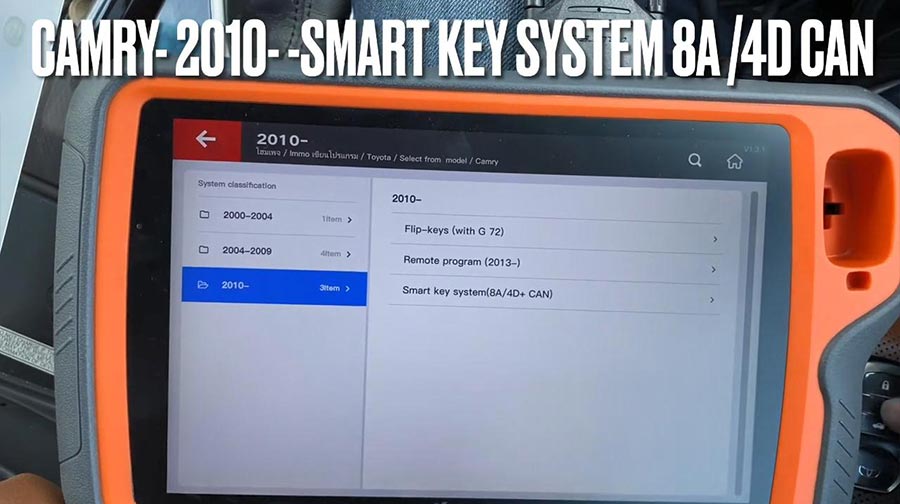
Camry - 2010 -Smart key system 8A /4D CAN.

Press "Start program".

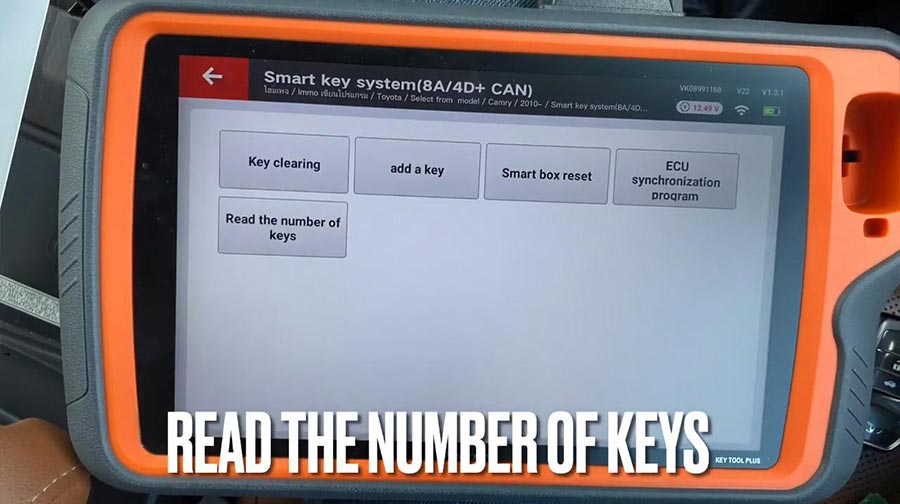
Select "Read the number of keys".
Please switch ignition on.
The number of registered key:1

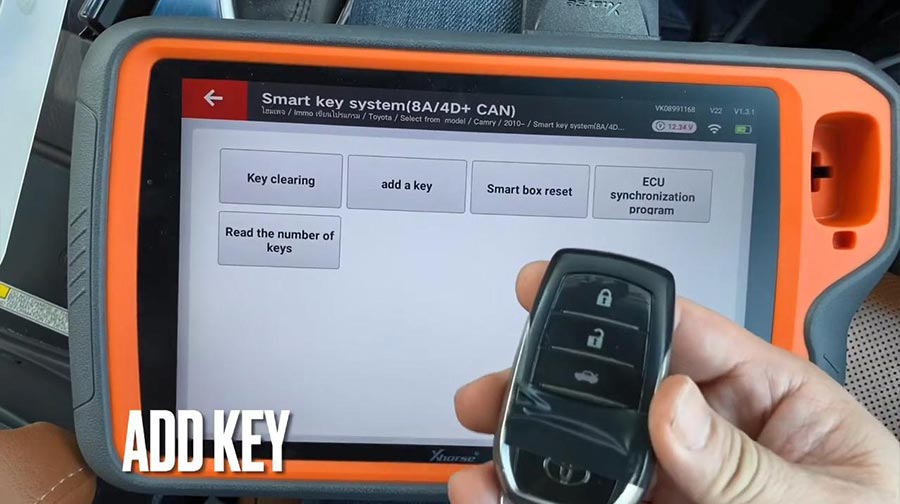
Add key.
Please switch ignition on.
The number of registered key:1 , the number of keys that can also registered: 6 

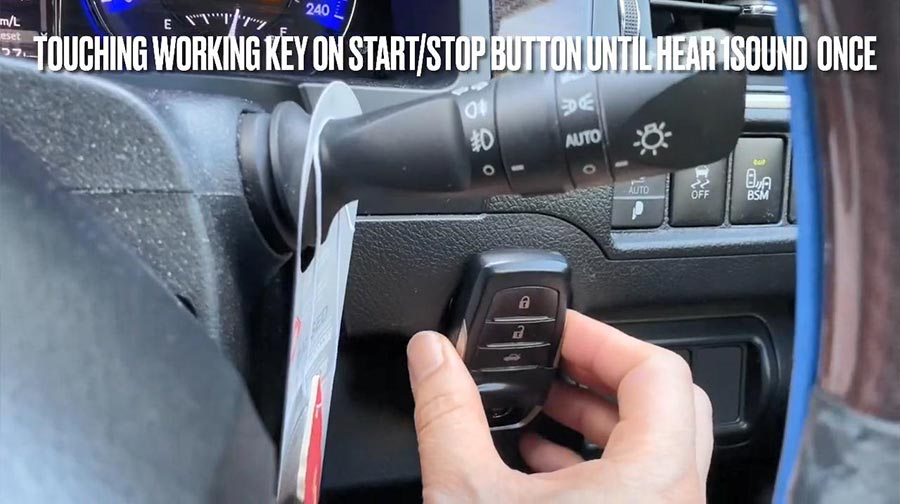
Keep touching the ignition switch with sign surface of a registered key, complete the operations within 30 seconds after clicking [OK].

Click [OK] and keep touching the ignition switch with sign surface of a registered key within 30 seconds.

Note: if key sound once, take the key farther away. If key sound twice, it is programmed successfully.

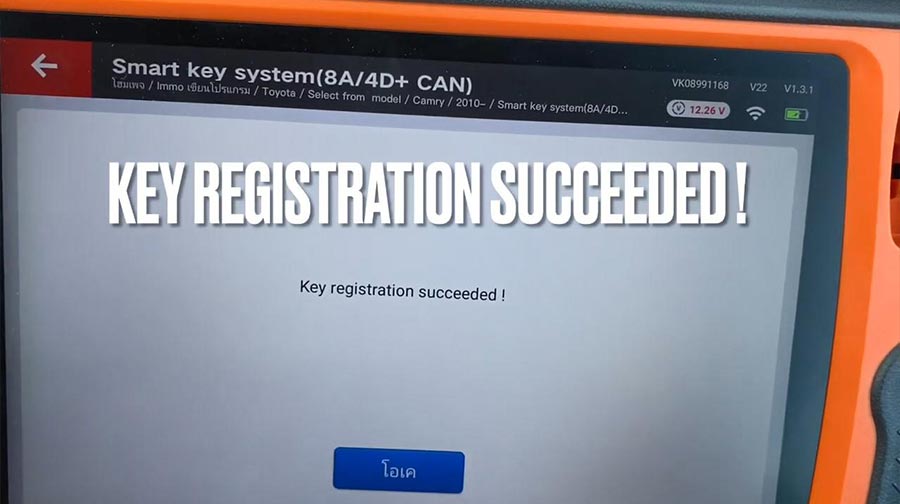
Key registration succeeded!

The number of registered key:2 , the number of keys that can also registered: 5.

Please check if function of remote normal.
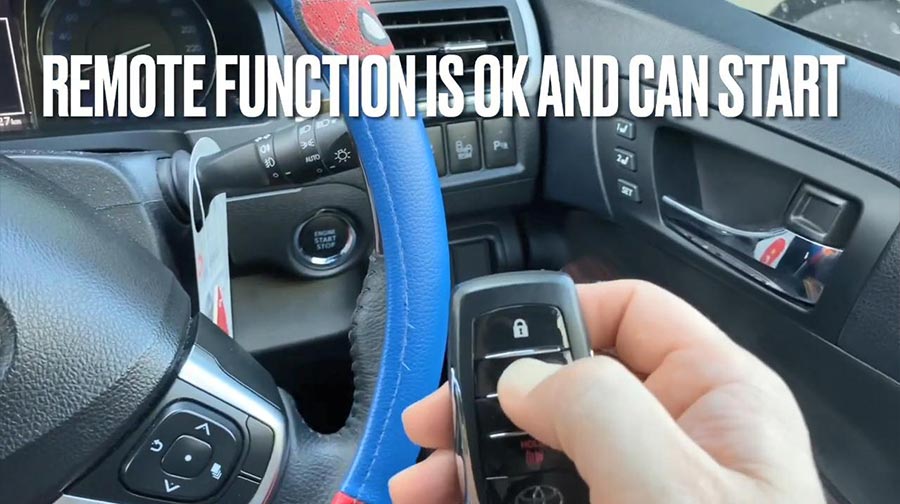
Remote function is ok and can start.

Job is done.
 

http://xhorsevvdi.over-blog.com/

How to distinguish whether Audi BCM is an encryption Type

  Recently released   Xhorse BCM2 Solder-free Adapter   allows users to read encrypted Audi BCM2 module, but how to know if it’s a locked ve...